Promts
This functionality helps to create a behavior model for the bot to follow. In Prompt, you can create macros for further queries, Prompt can store query history, and create macros both with data from open sources and with local libraries
Save Your Prompts: You can now effortlessly save your prompts in our web interface or any messaging apps like Slack or Discord, making them accessible wherever you need!
Prompt Descriptions: Add a description to your prompts to easily remember the purpose it was designed for and stay organized.
Tagging System: Stay on top of your projects with our efficient tagging system - find the right prompt or group prompts by tags in just a few seconds!
Edit & Roll-back: With prompt versioning, you can edit your prompts and roll back to any previous versions, giving you full control over your content.
Save Requests & Answers: Keep track of all your requests and answers for each prompt and its versions - never lose valuable information again!
Grading System: Grade the answers your prompt generates and see the average grade of all generated answers to understand its effectiveness.
How does it work?
Step 1
Need to be authorized. After that, go to the "Promts" tab. On this page will be all created Promts
Step 2
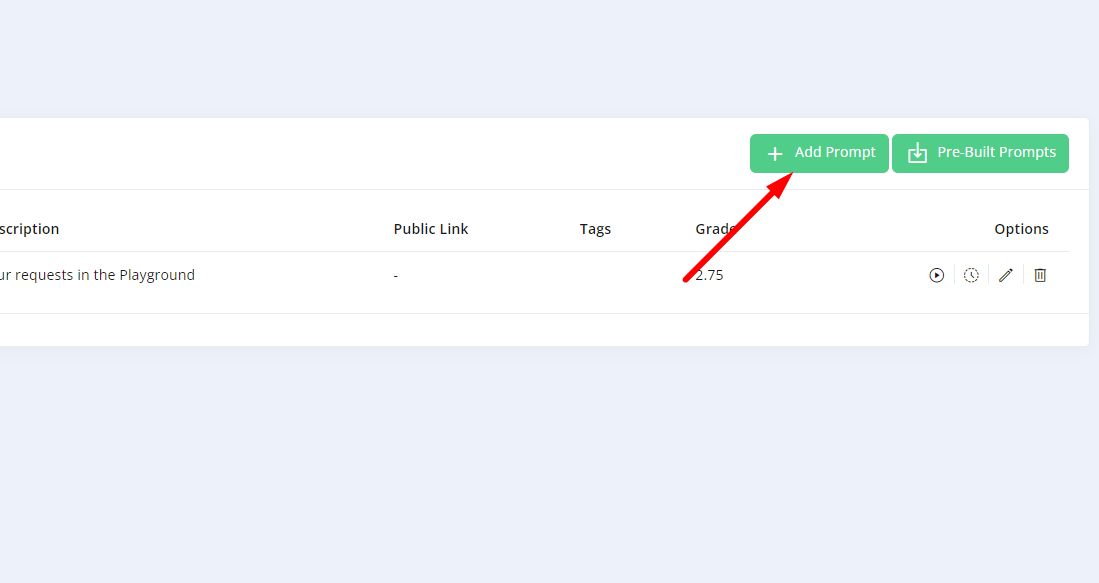
Click on the “+Add Prompt” green button for creating a new Prompt
Step 3
On the current page - the ability to create new macros using the option
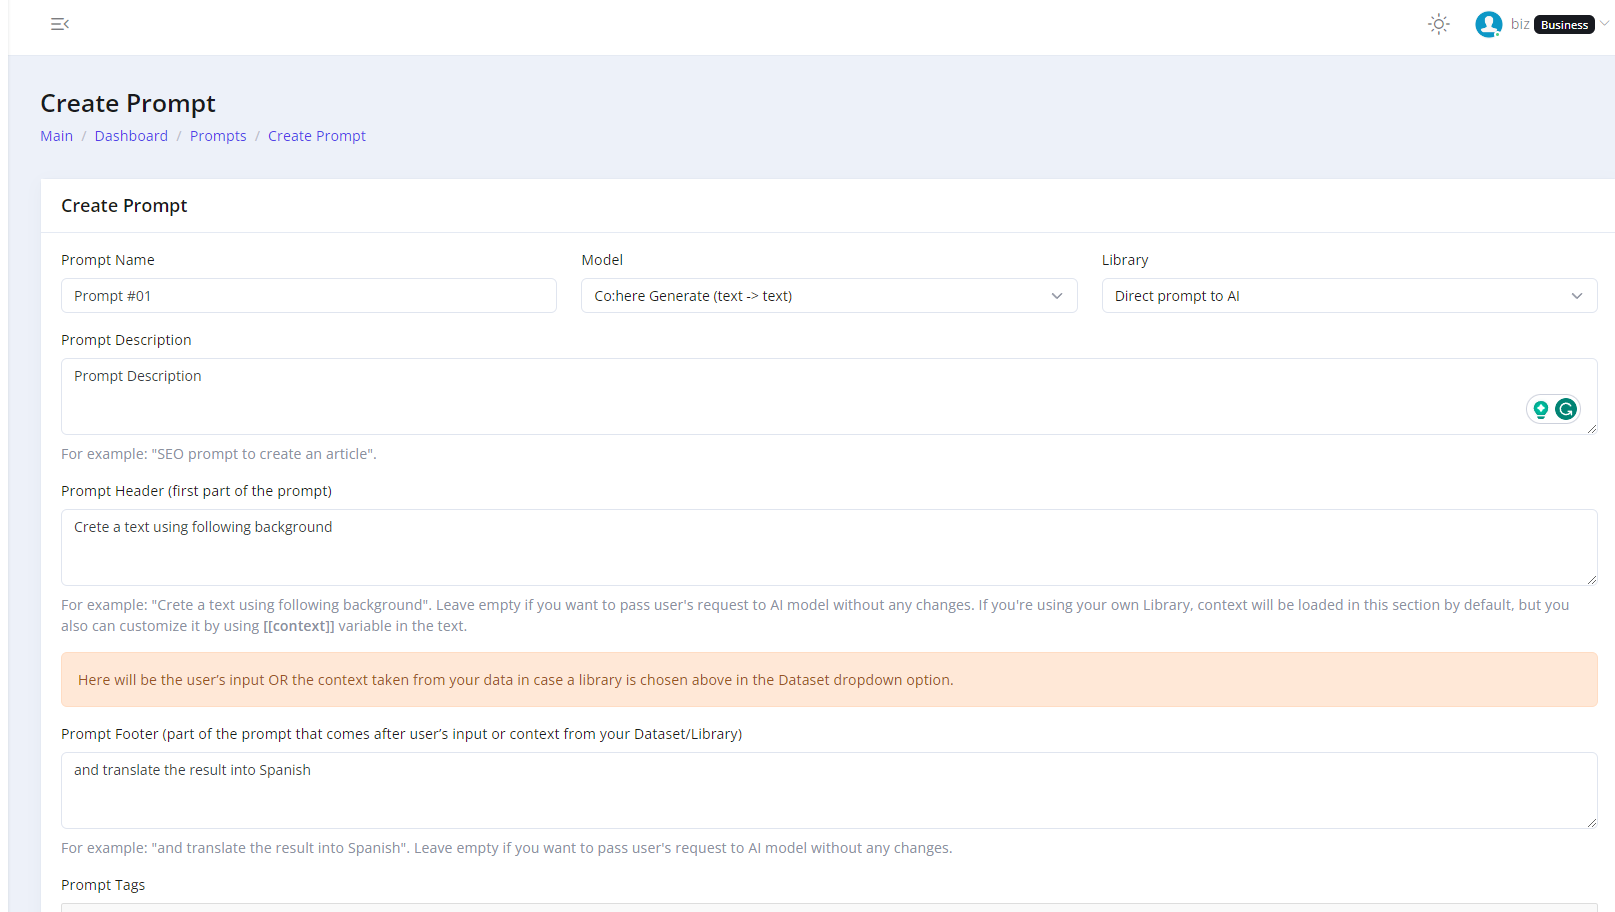
- In the Prompt Name field, add a new name
- In the Model selector, you need to select AI Generator. After this prompt, all requests will work with this AI generator.
- In the library selector, select a library from the previously created ones, and the AI will only work with content from this library, or leave "Direct prompt to AI" and the bot will use the exposed resources.
- Prompt Description textarea: This is not a required field, it can be Empty but can be used as an indication
- Prompt Header (first part of the prompt) - This is not a required field, but it is an important option if you want to get a custom response format. For example: "Crete a text using the following background". Leave it empty if you want to pass user's request to AI model without any changes. If you're using your own Library, context will be loaded in this section by default, but you also can customize it by using [[context]] variable in the text.
- Prompt Footer (part of the prompt that comes after user’s input or context from your Dataset/Library). This is not a required field, this function can also help in editing the implemented query. You can set the number of lines that will be in the answer, and language, you can also add links, or content for comparison
- Prompt Tags field: This is not a required field. This feature can help you mark a special Prompt.
- Click on the “Save” button
Step 4
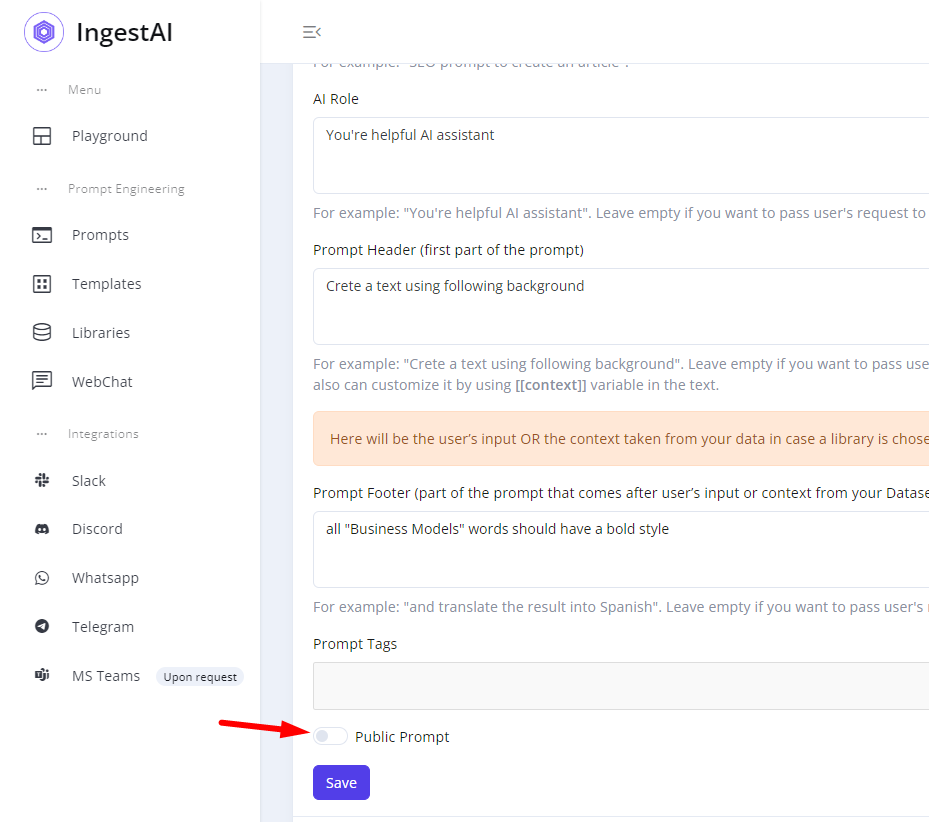
After the Prompt was created it can be changed to the public, In the edit state of the Prompt, a public Public Prompt toggler appears at the bottom of the page, after tern on it generates a URL that can be shared with anyone.
Step 5
Go back to the Prompts page. New options will appear on the left side: Run Prompt, Prompt Requests History, Edit Prompt and Delete Prompt
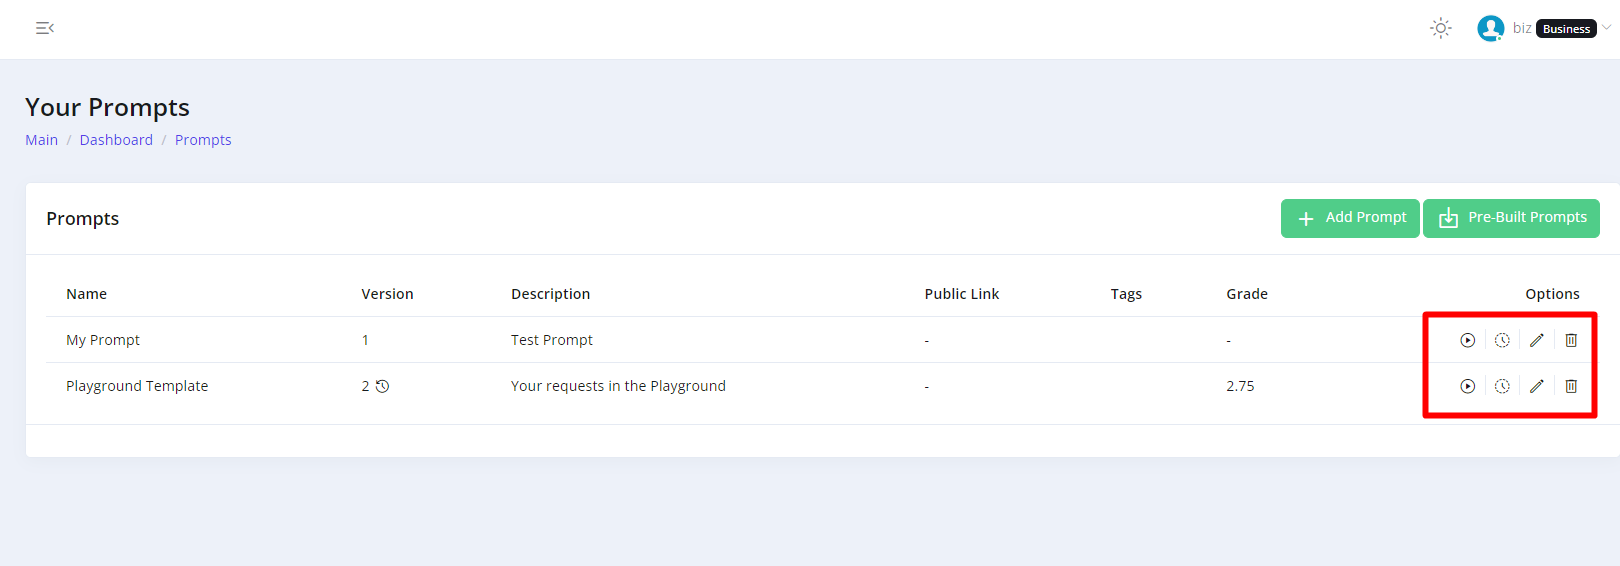
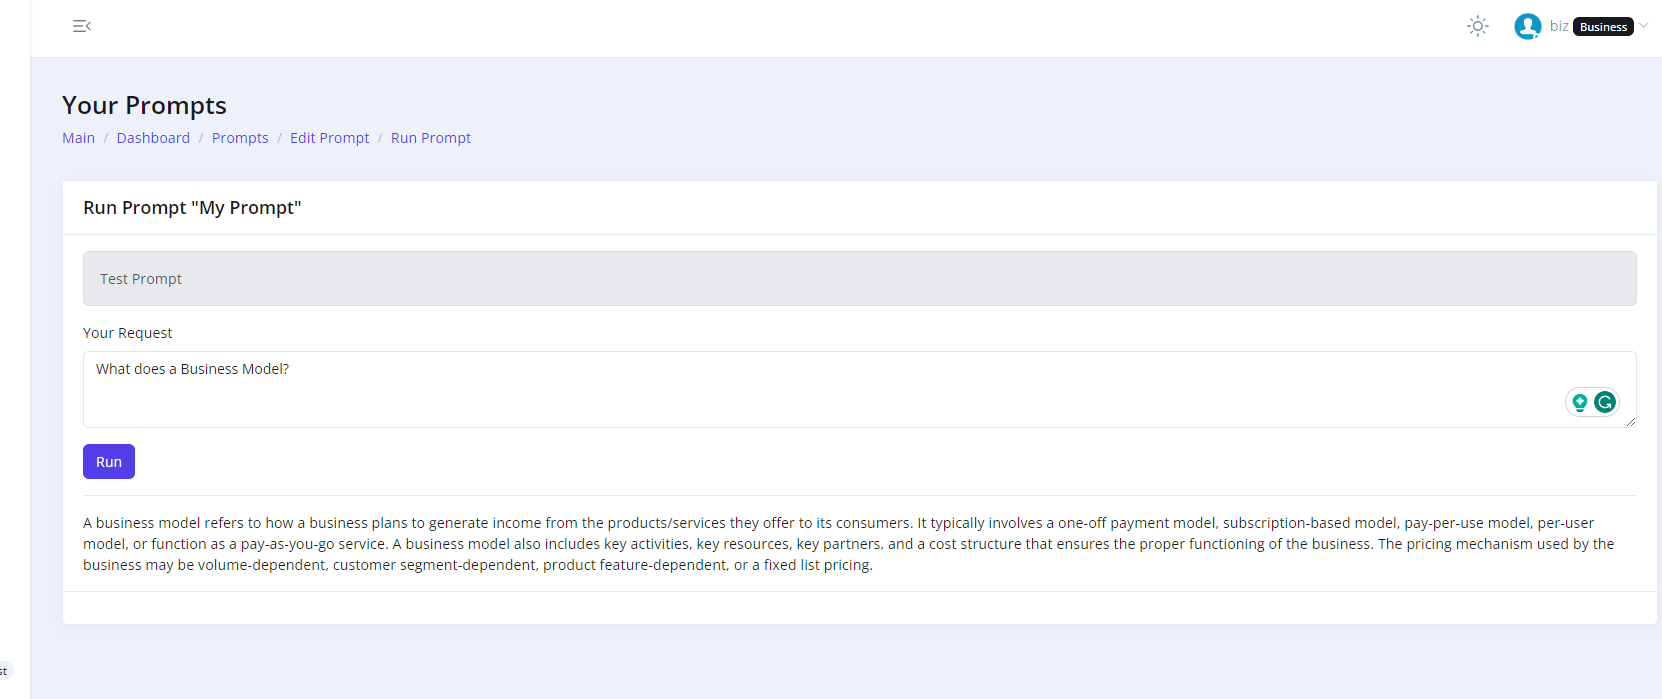
Run Prompt: After clicking on this button, you will be redirected to the request page where you can enter a request to the AI using the previously created settings
Prompt Requests History: In the Prompt request history option, you can see the history of all requests in this Prompt, mark the most liked answer from 1 to 5

Edit Prompt: After clicking on the pencil button, the Prompt template can be edited.
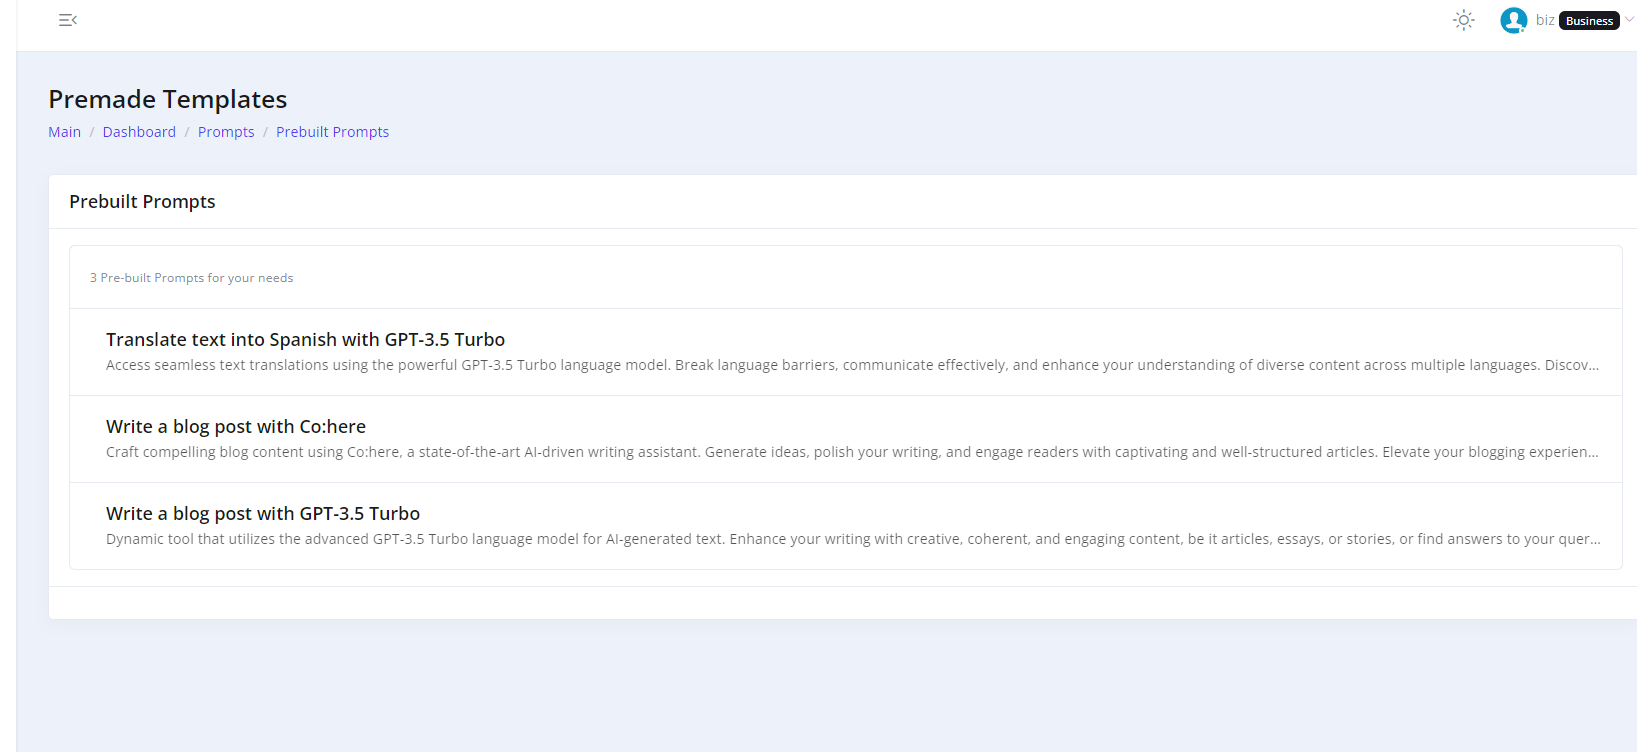
Also for the "Prompt" function, there are several examples of how it can be created.
On the Prompt page second green button “Pre-Built Prompts” contains examples of how to compose Prompt